MQ Digital User Guides
User Guides for Digital Tools and Softwares at Macquarie University
Research Data Repository
Introduction
The Research Data Repository (RDR) allows you, as a researcher at Macquarie University, to upload your research data and make it publicly available. In doing so, The RDR promotes collaboration, data sharing and discovery amongst researchers globally according to FAIR data principles.
This User Guide will walk you through the main tenants of the RDR and guide you in sharing your research data with the wider community.
Logging into the RDR
Research staff at Macquarie (including HDR students) can automatically access the RDR using their MQ OneID credentials.
To log in:
- Visit the RDR home page at https://figshare.mq.edu.au
-
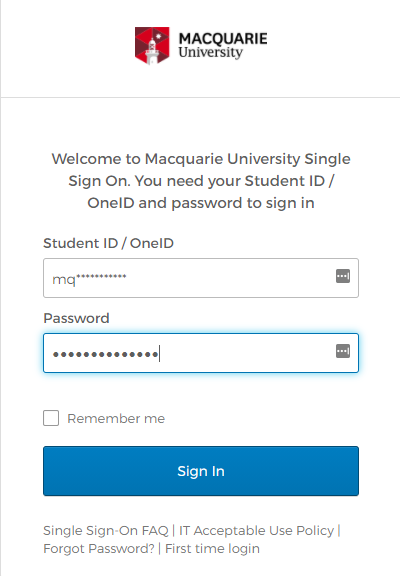
Click on Log in on the top right of the page

-
Enter your Macquarie University OneID credentials. Once you have entered these, you will need to then further authenticate with 2FA credentials (typically using an authenticator app on your mobile phone device):
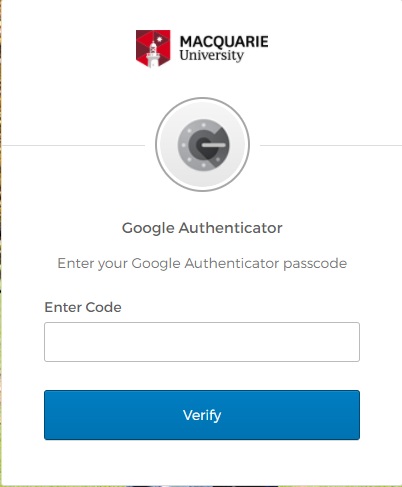
-
Upon successful login, you will be navigated to the RDR home page.

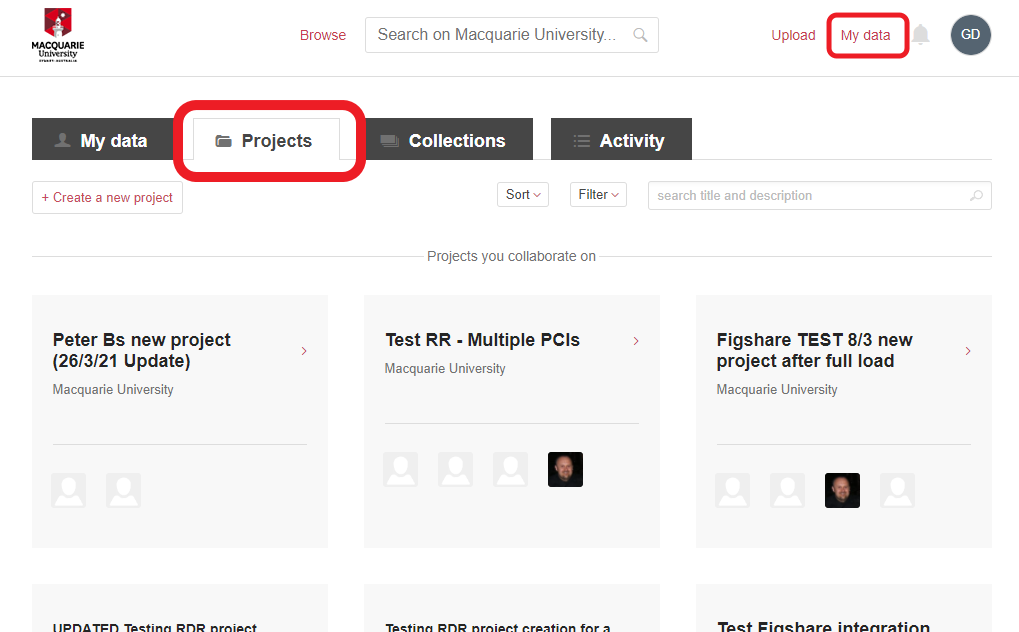
- You can return to this home page (or ‘My data’ page) at any time by clicking My data on the top right corner of the page.
Projects
Projects are a key feature of the RDR and are a way to put your uploaded datasets into context with the actual research that produced them. Research project information is synchronised from Macquarie University’s Research Management System (Pure) into the RDR, and thus allows you to upload and organise datasets under the umbrella of the research project in which it was created. In addition, any collaborators on the project are also invited to collaborate with you on uploading and publishing datasets into the RDR under that project.
help you organise your data within the RDR as well as collaborate with your project. Projects in the RDR map directly to actual research projects being undertaken at Macquarie University.
Uploading a Dataset
- Click on the My data link on the top right of the screen, then click on the Projects tab to navigate to your list of projects
- Select the project under which you’d like to upload the dataset. On the resulting Project page, click on Add a new item which will load the dataset upload form.
-
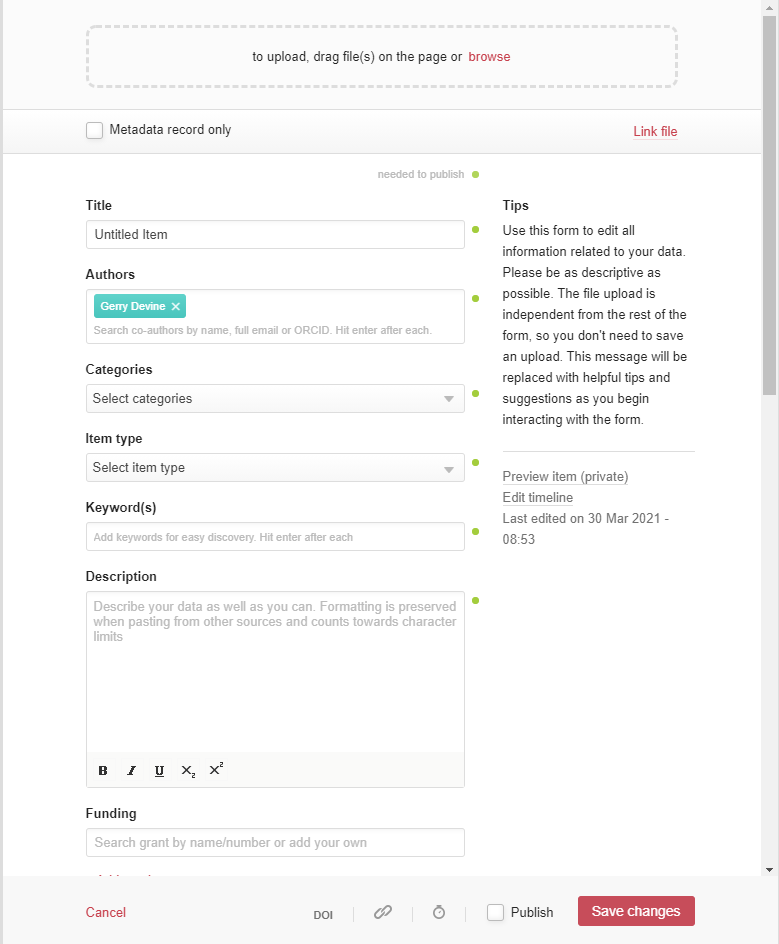
Upload your dataset by either dragging the dataset file(s) from your local PC onto the data upload panel at the top of the form, or use the browse link to select a file(s) from your local file system.
-
Fill out the metadata fields on the form (Title, Description, etc), remembering that your answers here determine the quality and discoverability of your data. You are encouraged to follow along with the guidelines in the appendix of this doucment for how to complete each section of the upload form.
-
Save your document by clicking on the Save Changes button at the bottom of the page. At this stage your dataset upload and associated metadata descriptions are saved under your chosen project. You can still continue to make further changes to your metadata or dataset uploads, remembering to save each time after making your edits.
-
When you are happy that your dataset record is complete, and that the uploaded data and associated metadata fields are of a high quality, you can choose to now publish your dataset. To do so, tick the checkbox marked Publish at the bottom of the form, then click on the Publish item button to send your dataset forward for publication.

- Your dataset has been sent forward for publication review by a member of the repository administration team. Upon successful publication you will receive a DOI for your published dataset that you can now use to publicly identify and cite your dataset. Should any issue arise with your dataset during review , a member of the repository team will be in touch with you.
Publishing and citing your data
Collaboration
Appendix
Formatting your data
Completing the data upload metadata fields
–